Running home assistant for our scout centre
Posted on wo 15 oktober 2025 in 2025
The scout centre I volunteer for wants to get beter insight in their power usage. As I had a Raspberry Pi 4 in storage for a new project, this seemed the perfect way to repurpose it.
At home I run the home assistent OS on a Pi and the Pi is dedicated to the home assistant task. But for the scout centre I would like to keep the option open to run other tasks on the device.
So I decided to install the lite edition of Raspberry Pi OS (no graphical desktop environment) using the Raspberry Pi imager tool. After that I applied a ansible playbook that handles all my defaults for my linux systems like proper SSH settings and such. Just to get a sane working and secure base.
Installing home assistant using docker is easy enough, just install the docker.io and docker-compose packages and
follow the instructions on the home assistant website. My docker compose boils down to:
---

services:
  homeassistant:
    container_name: homeassistant
    image: "ghcr.io/home-assistant/home-assistant:stable"
    volumes:
      - /opt/homeassistant/config:/config
      - /etc/localtime:/etc/localtime:ro
      - /run/dbus:/run/dbus:ro
    restart: unless-stopped
    privileged: true
    network_mode: host
    devices:
      - /dev/ttyUSB0:/dev/ttyUSB0
At the same time I ordered a USB to P1 cable to hook up the Pi to the smart power meter in the scout centre. When the cable arrived, I hooked it up and restarted the home assistent container to have it recognize the now available USB device mapped in the docker compose file:
cd /opt/homeassistent
docker compose down
docker compose up -d
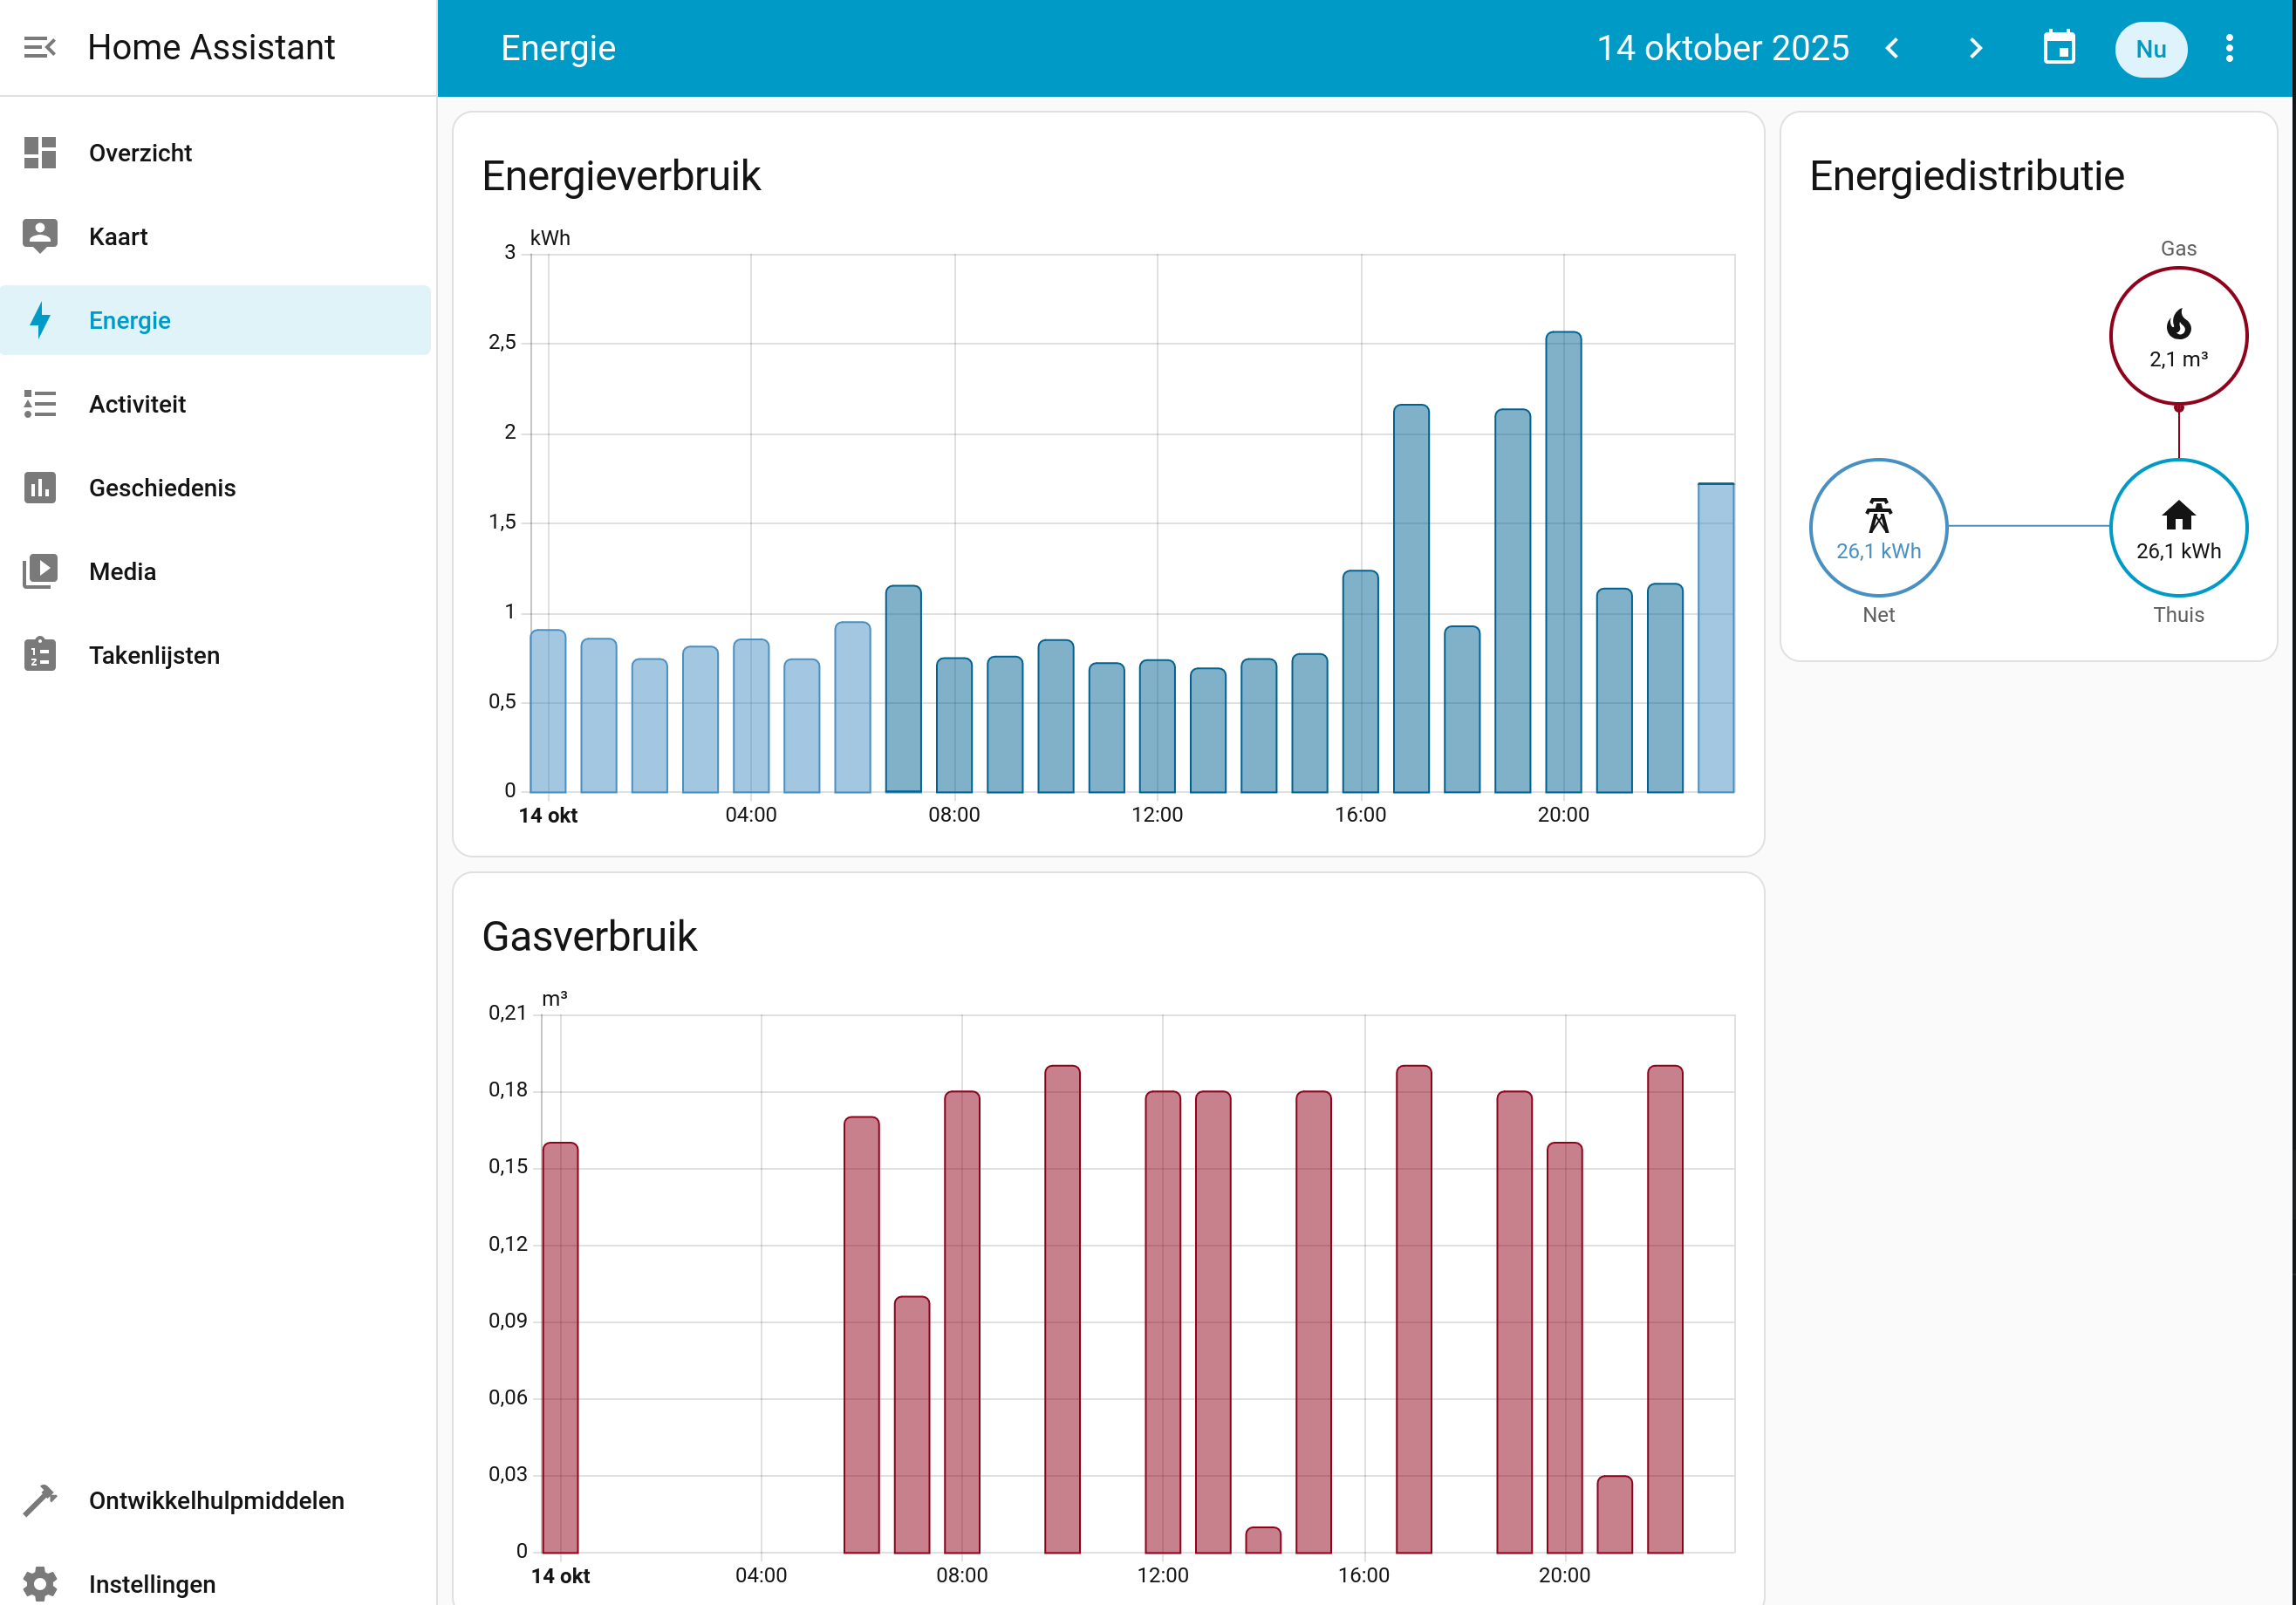
The thing was now working and when adding the DSMR add-on, the USB cable was recognized as such. Configuring the energy dashboard to start showing the new metrics was rather easy and straightforward.
Now everything worked, accessing the home assistant webUI using the local network.
External access
There is of course the option to hook up home assistant to the home assistant cloud offering, making accessing your instance over the Internet dead simple. But I try to refrain using these type of services. So I opted to set up a nginx reverse proxy on the Pi.
I must admit that I have an ansible playbook that fixes most basic stuff, like installing the package and setting up certbot to manage TLS certs for a certain public hostname. There was some fiddling with both the home assistant config and the nginx config to make it properly work.
There was also the task of forwarding port 80 and 443 on the provider Internet router to the Raspberry Pi. Not difficult, but it adds another step.
The nginx proxy config that I ended up with that works well for me is this:
  location / {

              proxy_pass http://127.0.0.1:8123/;
              proxy_buffering off;
              proxy_set_header X-Real-IP $remote_addr;
              proxy_set_header X-Forwarded-Host $host;
              proxy_set_header X-Forwarded-Port $server_port;

              proxy_set_header        Authorization   $http_authorization;
              proxy_pass_header       Authorization;

              proxy_set_header Upgrade $http_upgrade;
              proxy_set_header Connection $connection_upgrade;

  }
the last Connection header needs a small mapping in the http section of the nginx config, which I took from the nginx website:
http {

    map $http_upgrade $connection_upgrade {
        default upgrade;
        ''      close;
    }

}
And then there was making sure home-assistant allows the reserve proxy setup. I had to fiddle for some time before
logging in via the /auth/token endpoint would actually work. There was some
[homeassistant.components.http.ban] Login attempt or request with invalid authentication from localhost (127.0.0.1). Requested URL: '/auth/token'
going on before I got to this config :-)
http:
  # For extra security set this to only accept connections on localhost if NGINX is on the same machine
  # Uncommenting this will mean that you can only reach Home Assistant using the proxy, not directly via IP from other clients.
  # server_host: 127.0.0.1
  use_x_forwarded_for: true
  cors_allowed_origins:
    - https://[EXTERNAL URL/HOSTNAME HERE]
  # You must set the trusted proxy IP address so that Home Assistant will properly accept connections
  # Set this to your NGINX machine IP, or localhost if hosted on the same machine.
  trusted_proxies:
    - 127.0.0.1
    - 172.17.0.1
    - ::1
It all took some forum digging and Qwant searches to get it all together, so I figured I better to share this for future use.